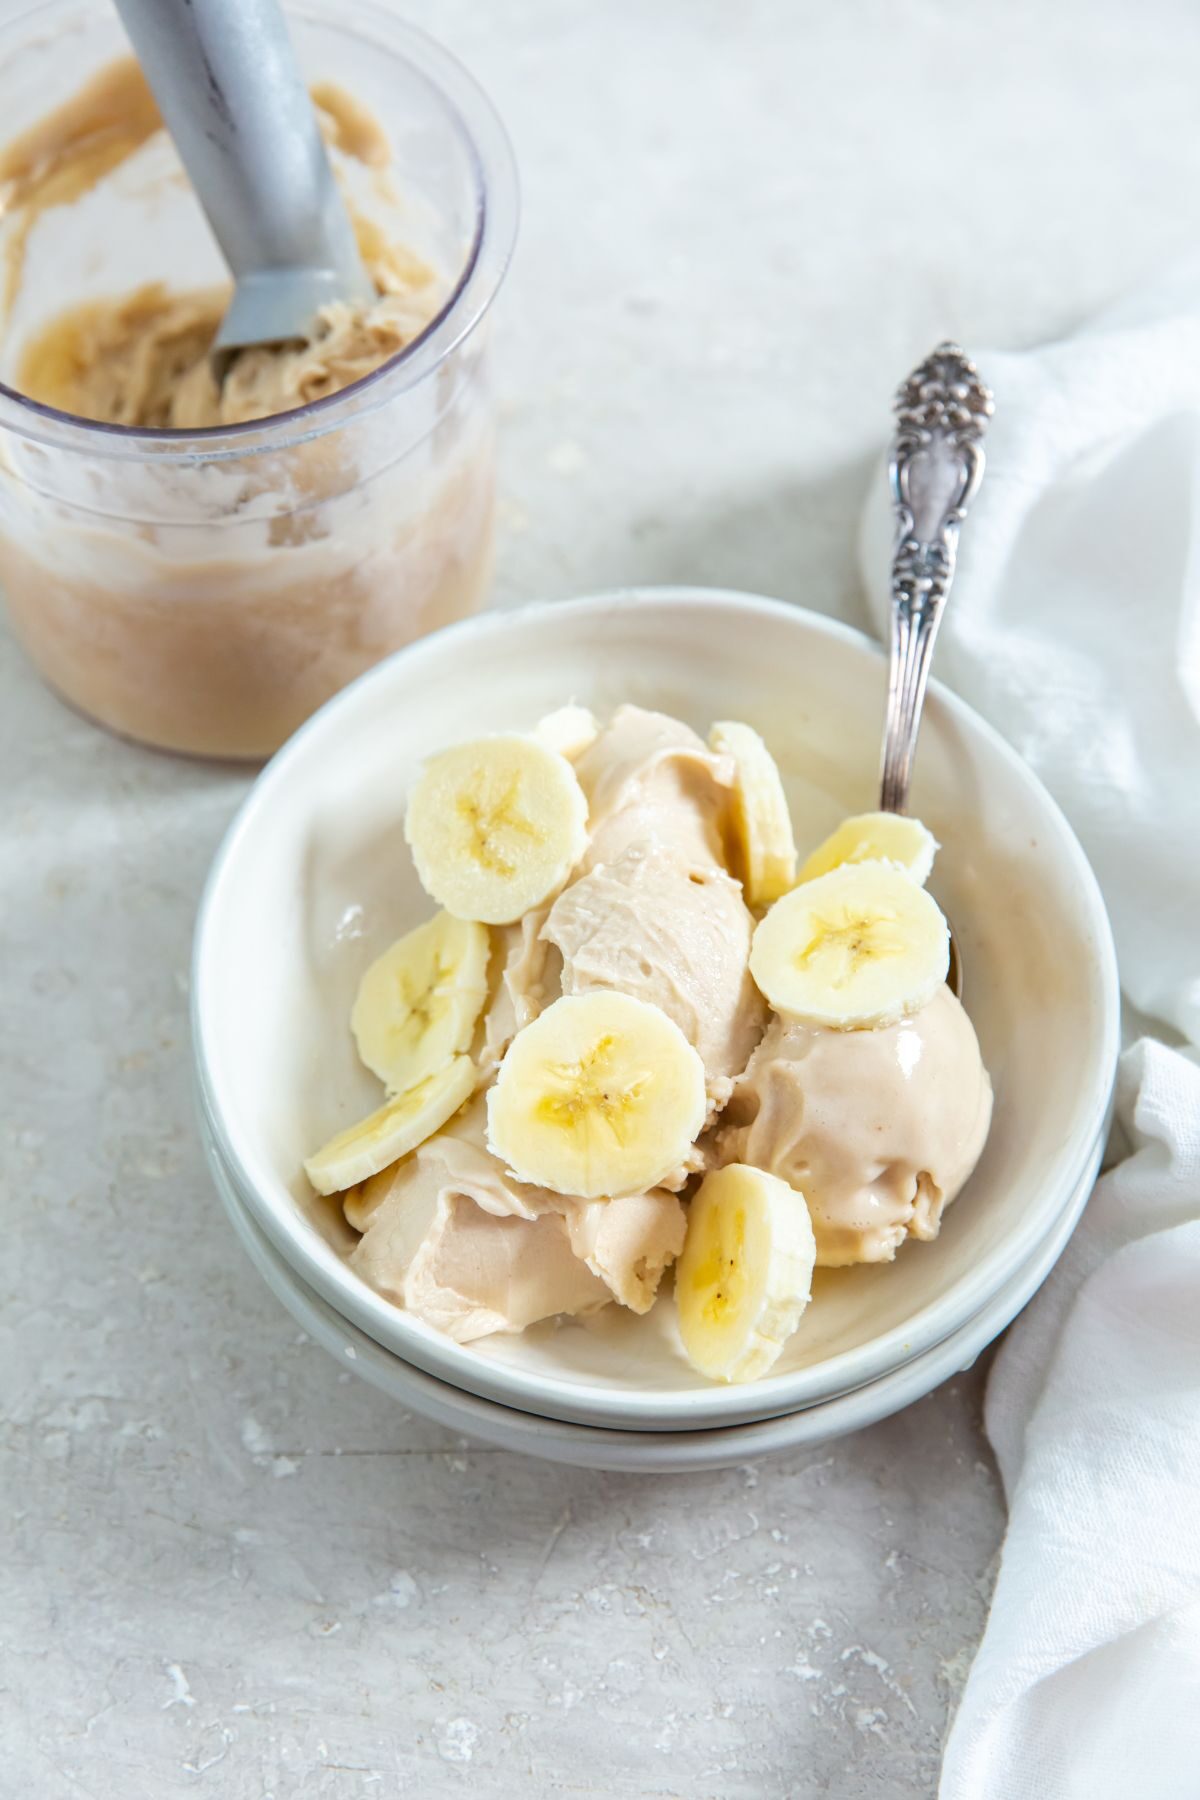
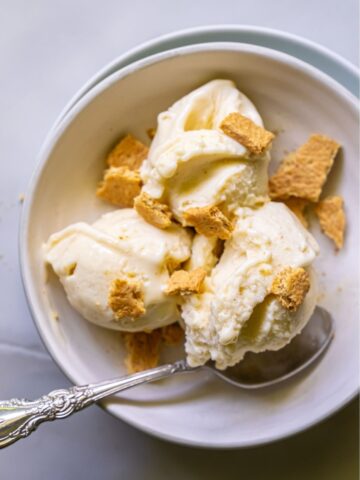
If you are looking for a sweet treat packed full of protein, you'll love this Ninja Creami Banana Ice Cream. This Banana Protein Ice Cream is super creamy and incredibly delicious! You won't even know it's healthy!
Ninja Creami Banana Ice Cream
This healthy indulgent banana ice cream is so easy to make in the Ninja Creami Ice Cream maker! I've used bananas to make my Chocolate Protein Ice Cream recipe, but I've never made a banana flavor ice cream prior to today.
The bananas not only provide flavor for the ice cream, but it makes the texture super creamy! You won't have to worry about this Ninja Creami protein ice cream recipe being powdery!
In addition, bananas are a great source of fiber and full of antioxidants, which makes this a great recipe to make! With 13g of protein per serving, this can be enjoyed after an intense workout or just as a sweet snack after dinner.
You can easily add another scoop or 2 of protein powder to the ice cream base to raise the protein concentration even higher in the ice cream.
It's not keto friendly though. If you're looking for a keto friendly ice cream recipe, check out my Chocolate Dairy Free Keto Ice Cream recipe.
For a fun twist, make my Peanut Butter Ice Cream or Chocolate Chocolate Chip Ice Cream and serve it with the banana ice cream!
If you're looking for even more Ninja Creami Ice Cream Recipes, check out this post that I wrote about the best Ninja Creami Recipes.
Banana Protein Ice Cream Nutrition
- Per serving there are 21g total carbs, 2g fiber, 4g sugar alcohols, 15g net carbs, 13g protein, 2g fat
- There are 3 servings per pint
Why you'll love this Ninja Creami Banana Ice Cream
- High protein Ice Cream - one serving of this ice cream has 13g of protein!
- Low calorie Ice Cream - less than 140 calories per serving
- Easy Ice Cream Recipe - the Ninja Creami makes this banana ice cream recipe a breeze to make!
Ingredients
- Fairlife milk – Fairlife is a great high protein, low carb, low fat milk option. And it doesn’t have those funky gums or emulsifiers than can mess with your stomach!
- Bananas – Some for the ice cream base and then sliced bananas for on top
- Naked Nutrition Grass-fed Whey Protein – I use the unflavored grass-fed protein powder. By far my favorite protein powder. It mixes great and doesn’t have any weird or gritty after taste and mouth feel.
- Vanilla extract – you can use either liquid vanilla extract or you can even use vanilla bean paste for a richer vanilla flavor
- Besti Monk Fruit Erythritol Blend – I’ve been loving the Besti Brand Sweeteners. I have a few of them that I alternate between.
Tips & Tricks
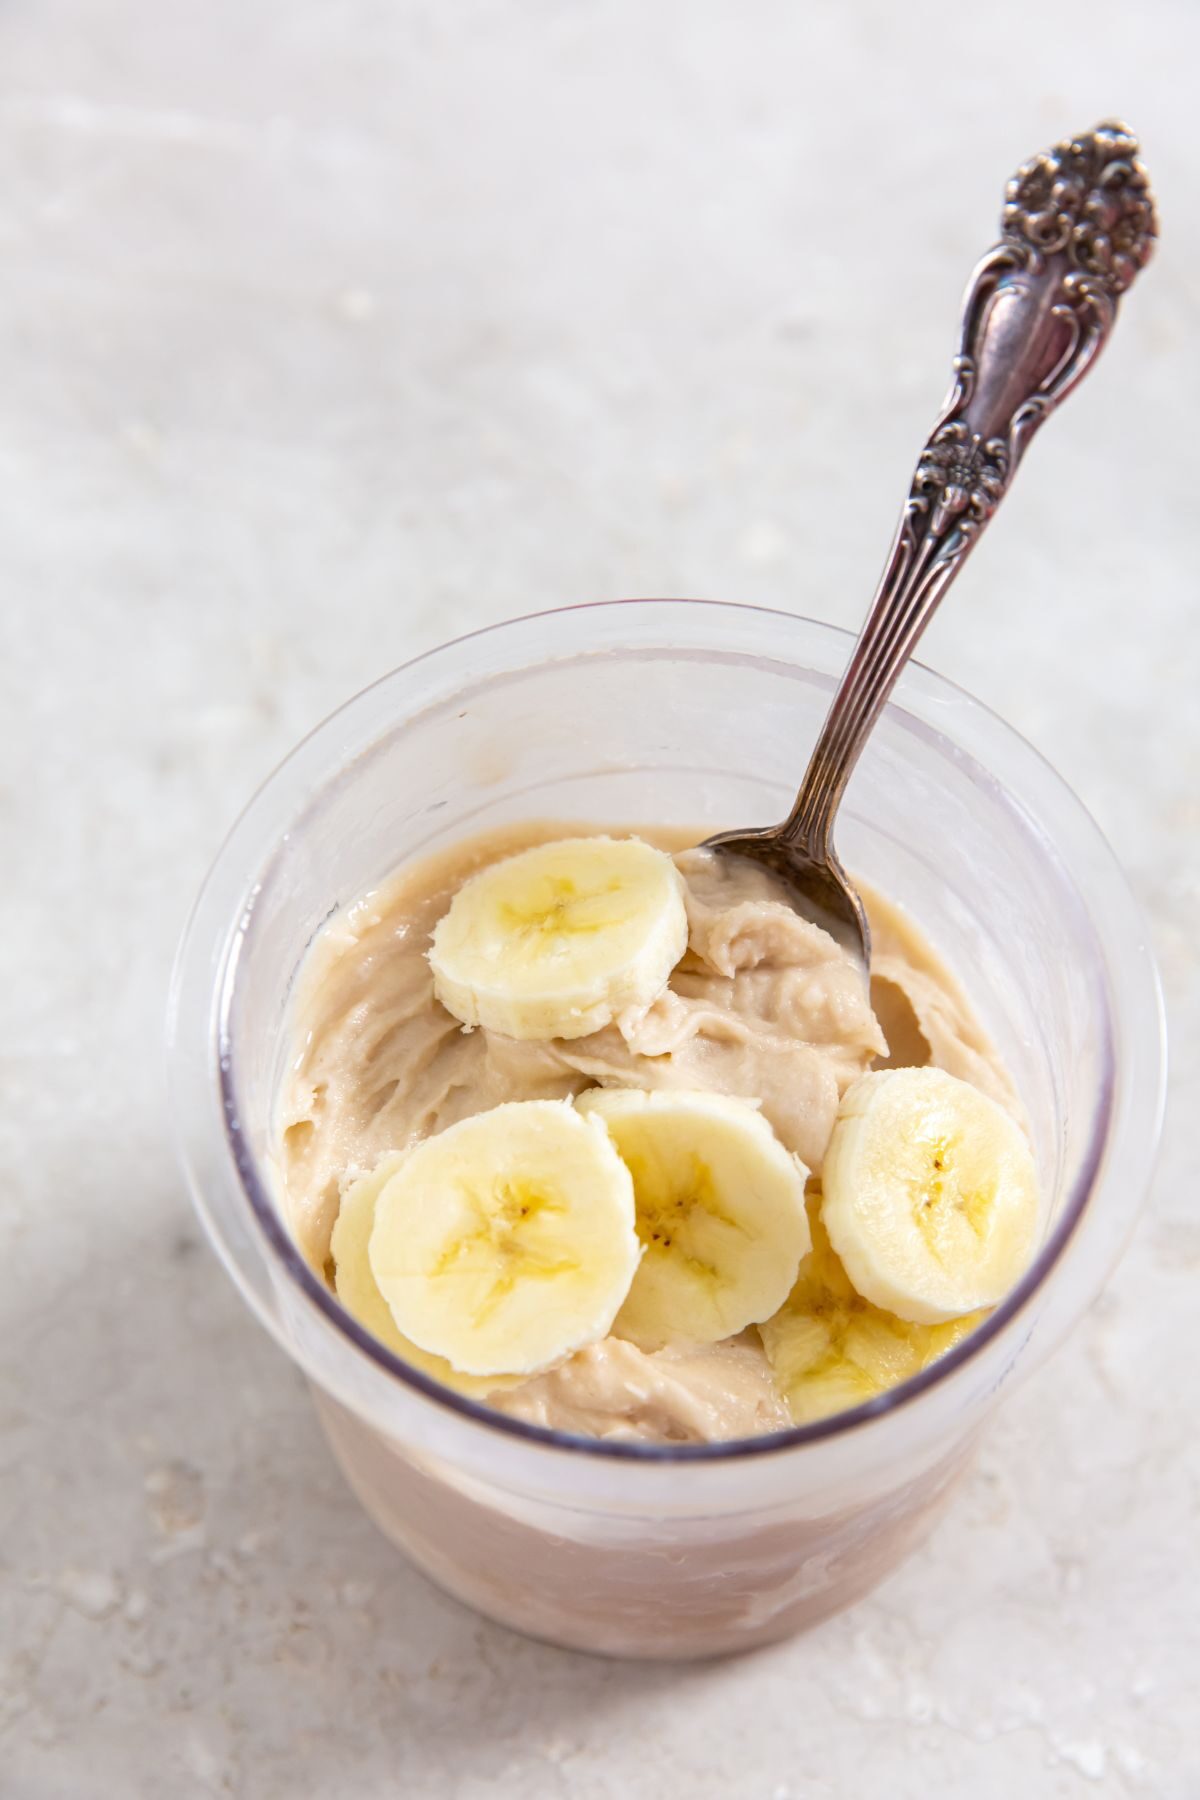
Be sure to plan ahead with this recipe. It takes up to 18-24 hours to freeze.
Tools to make this easy recipe
- Ninja Blender – I absolutely love my ninja blender. Not only can you use it for the obvious like smoothies and shakes, but it works perfect for making the ice cream base as well!
- Ninja Creami ice cream maker – I honestly am in love with this Ninja Creami. Before I bought these extra Ninja Creami Pints I was using it every day. Now I make ice cream in my Ninja Creami in bulk, doing 4-5 recipes at a time. I opted for those pints because they were about half the price, but be weary if you need them quickly, it took about 3 weeks to get here. They did have some prime options, but I was being thrifty.
How to make Ninja Creami Banana Ice Cream
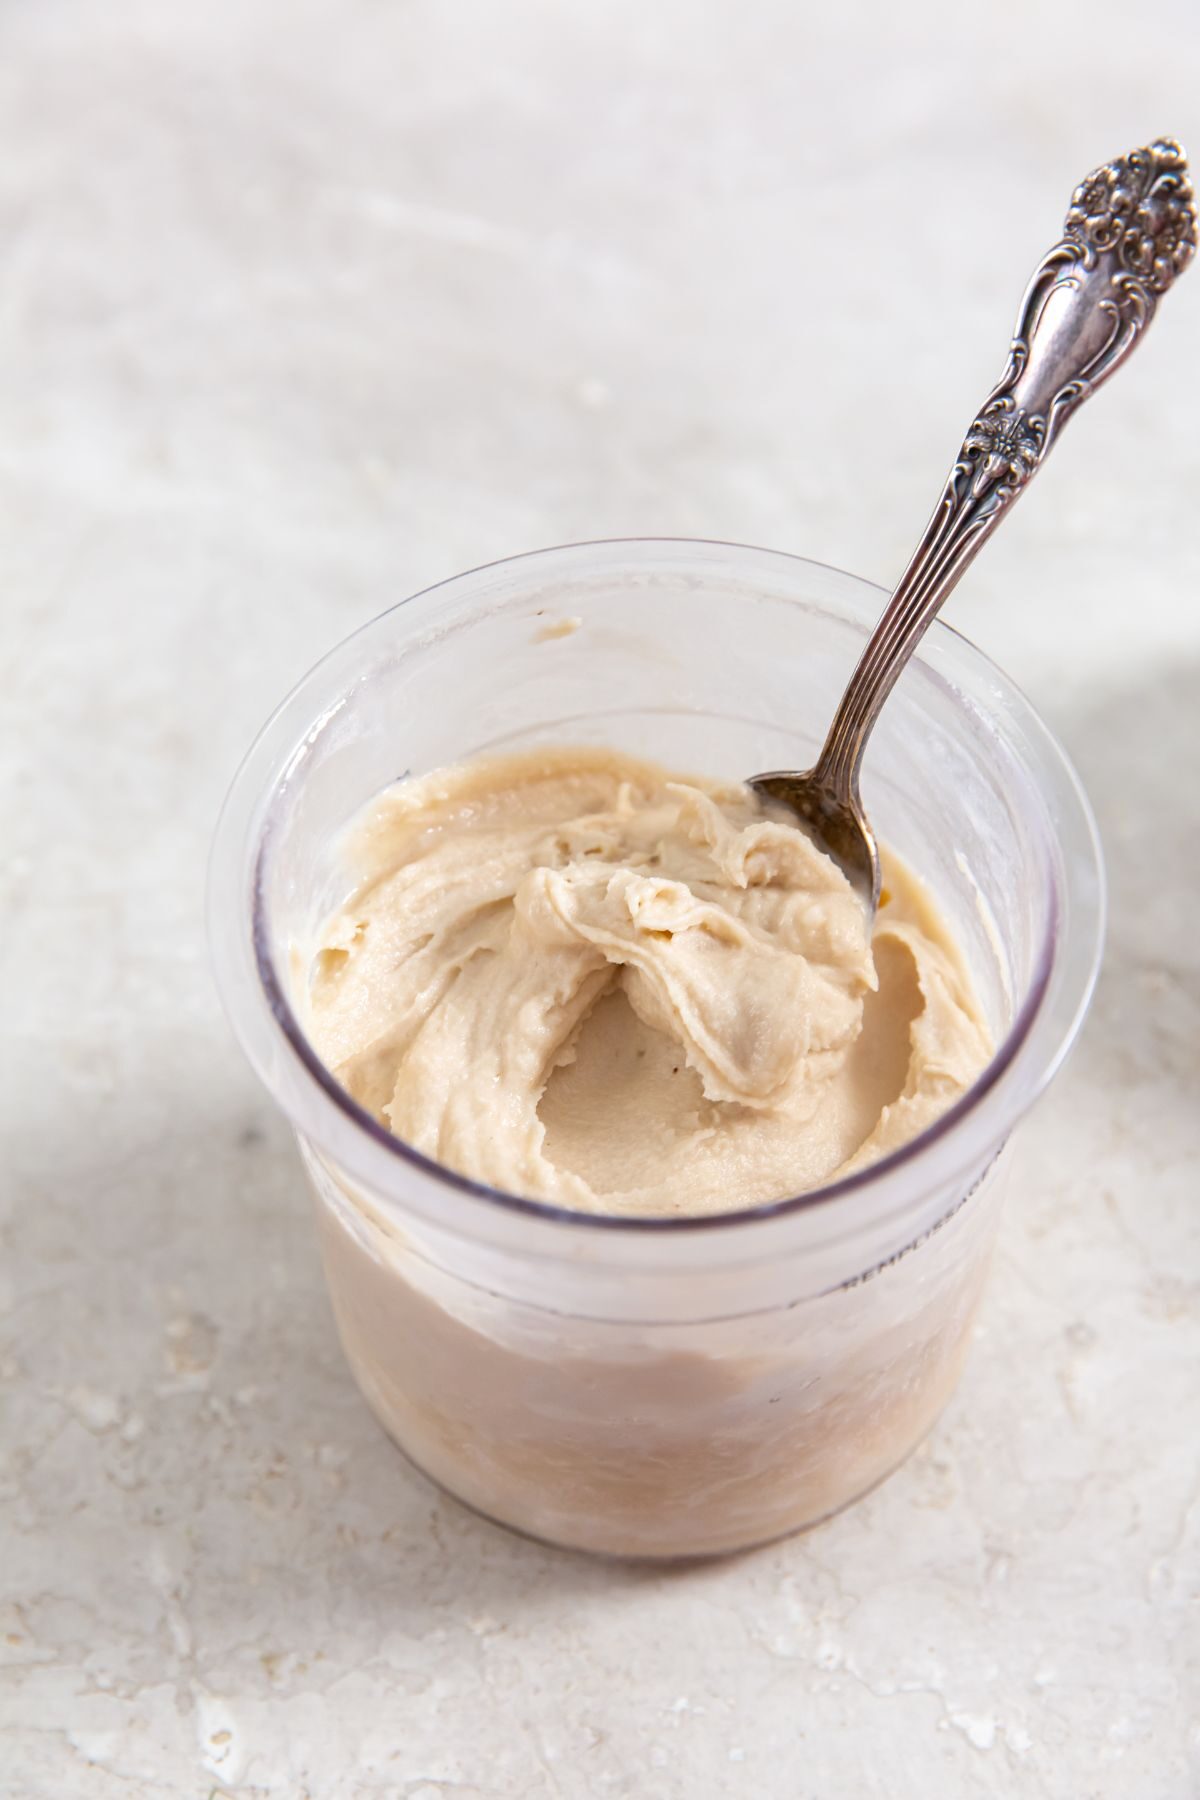
- Add all of the ingredients into a blender. Blend until the ingredients are well combined.
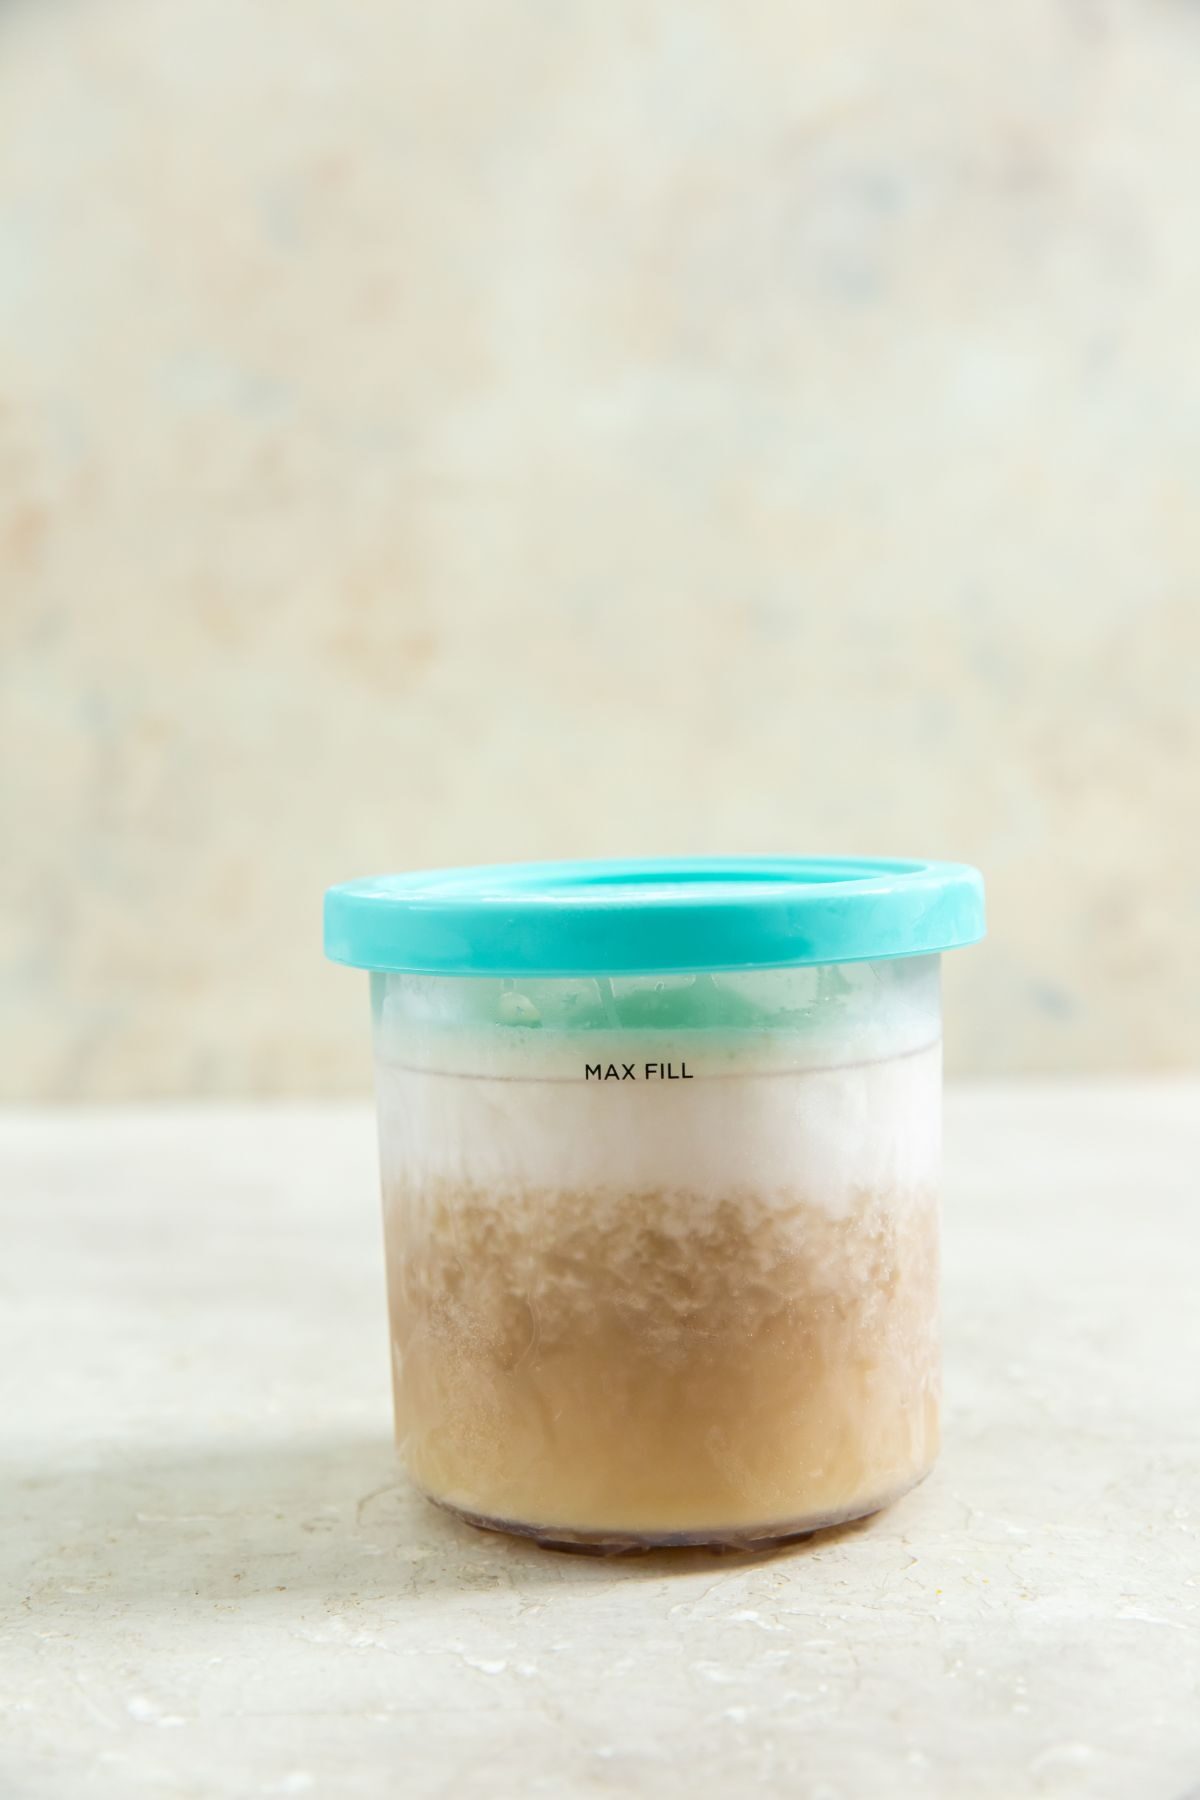
- Transfer the liquid to the Creami ice cream pint and place the lid on tight. Freeze for 18-24 hours.
- Once the ice cream base is completely frozen, remove it from the freezer.
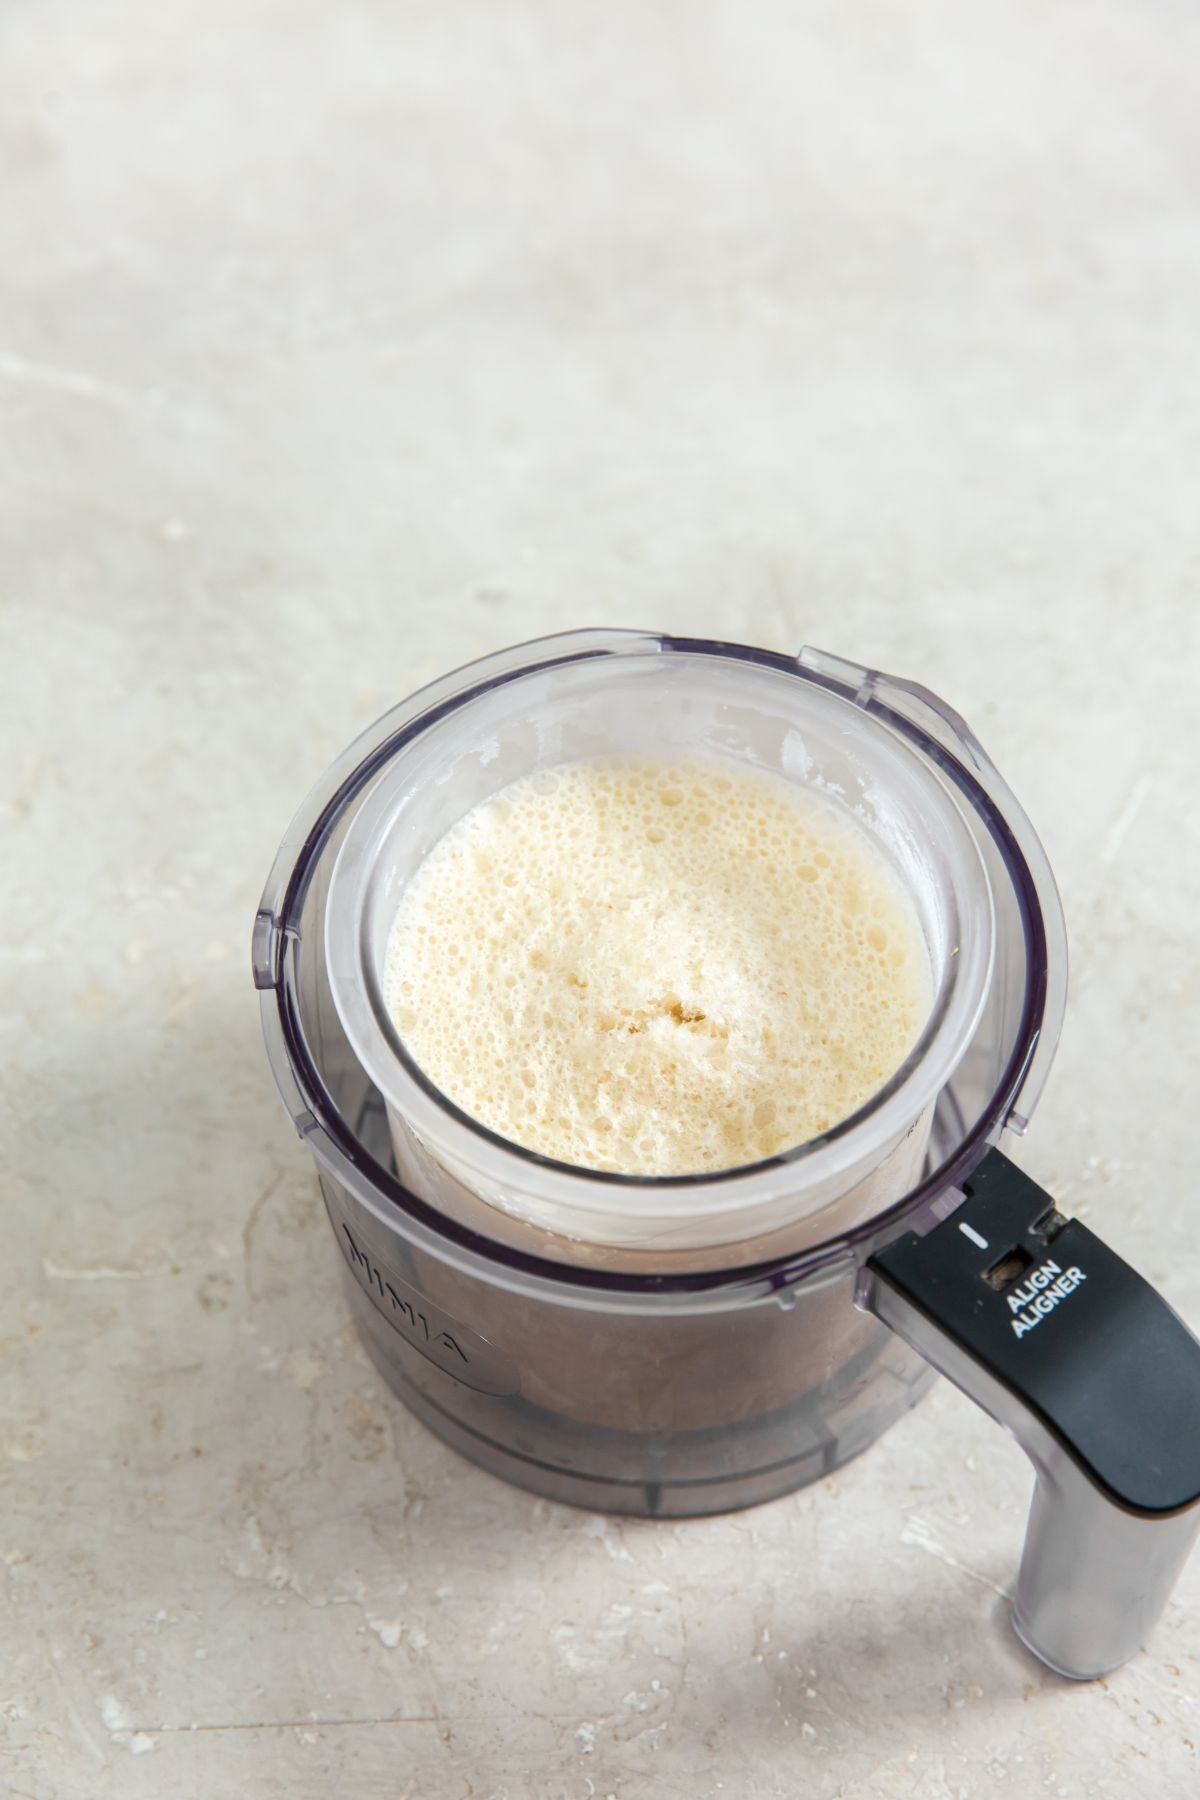
- Remove the lid and transfer the pint into the Ninja Creami pint holder.
- Place the blade into the lid and then place the lid onto the pint holder.
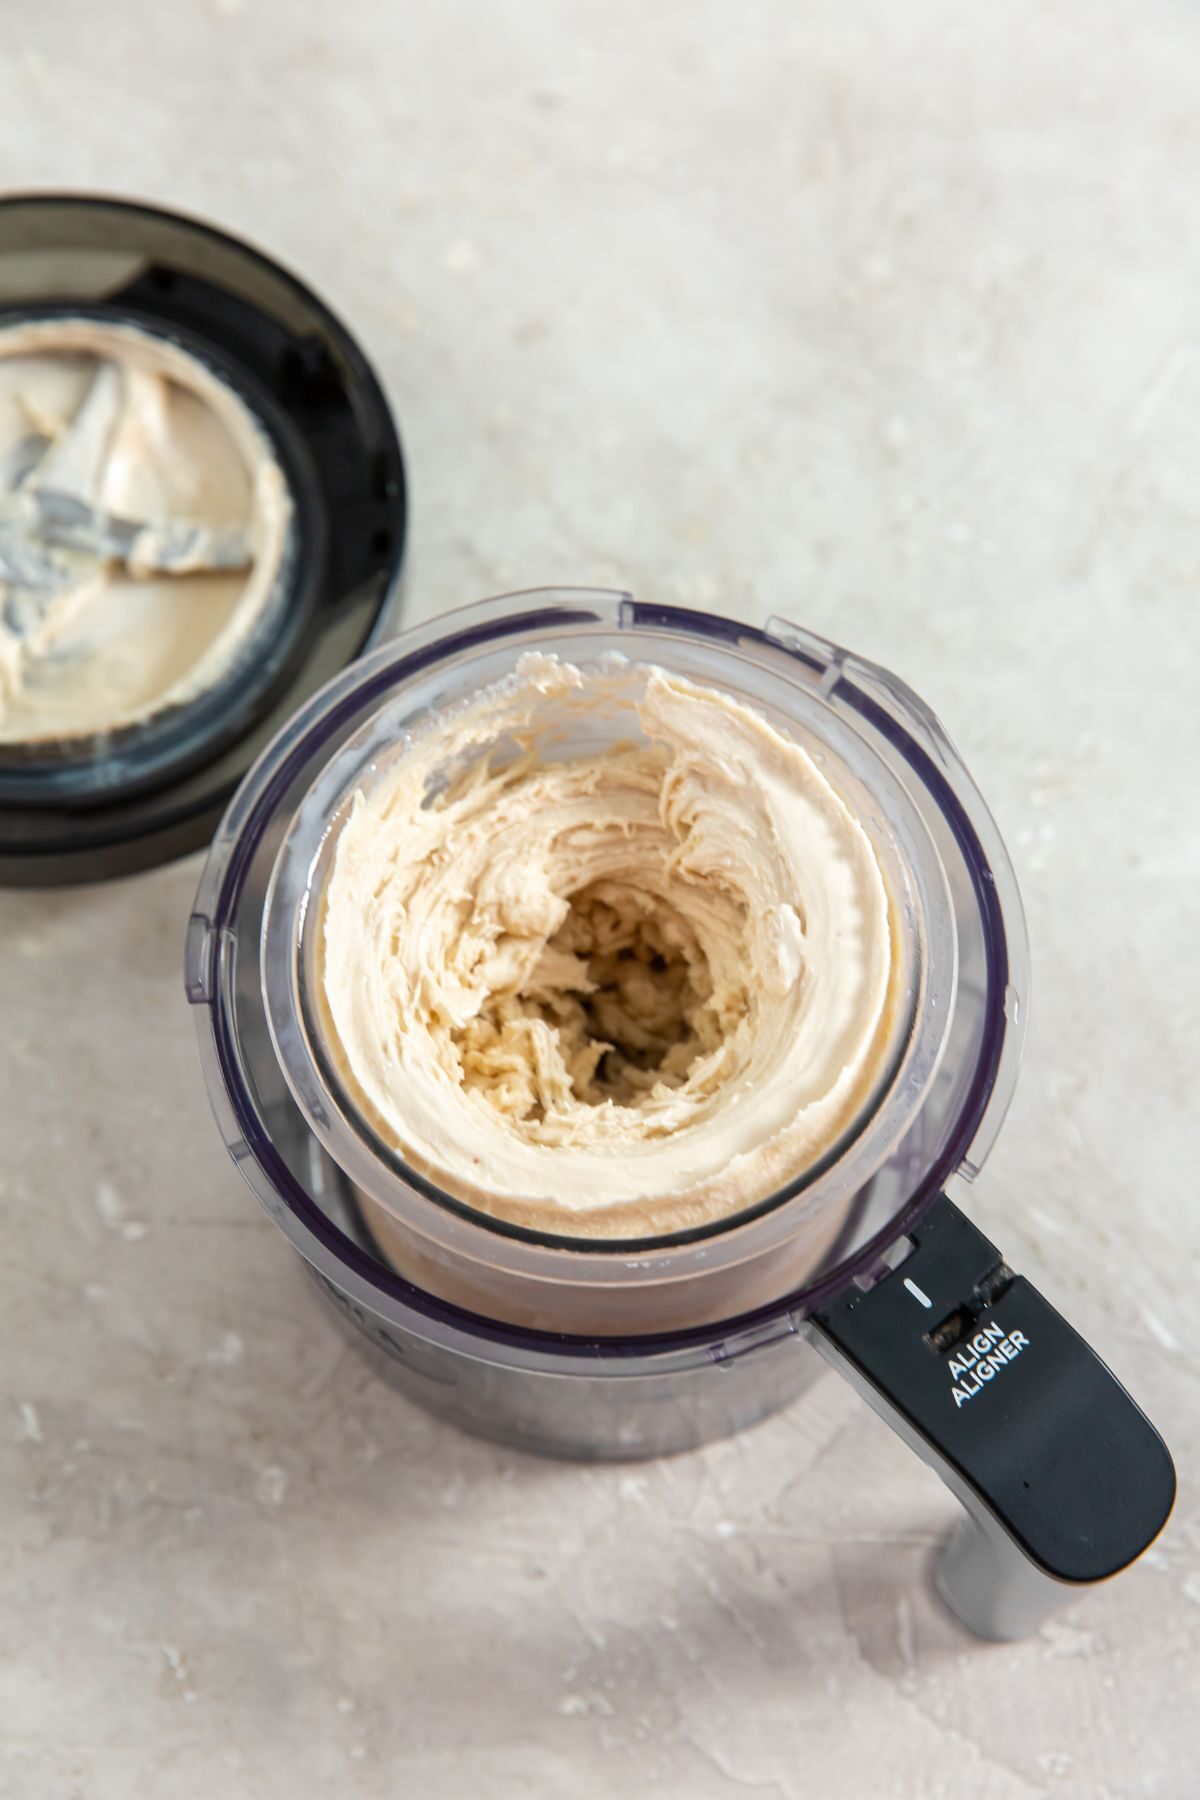
- Lock the ice cream into the creami and select either the ice cream or soft serve selections.
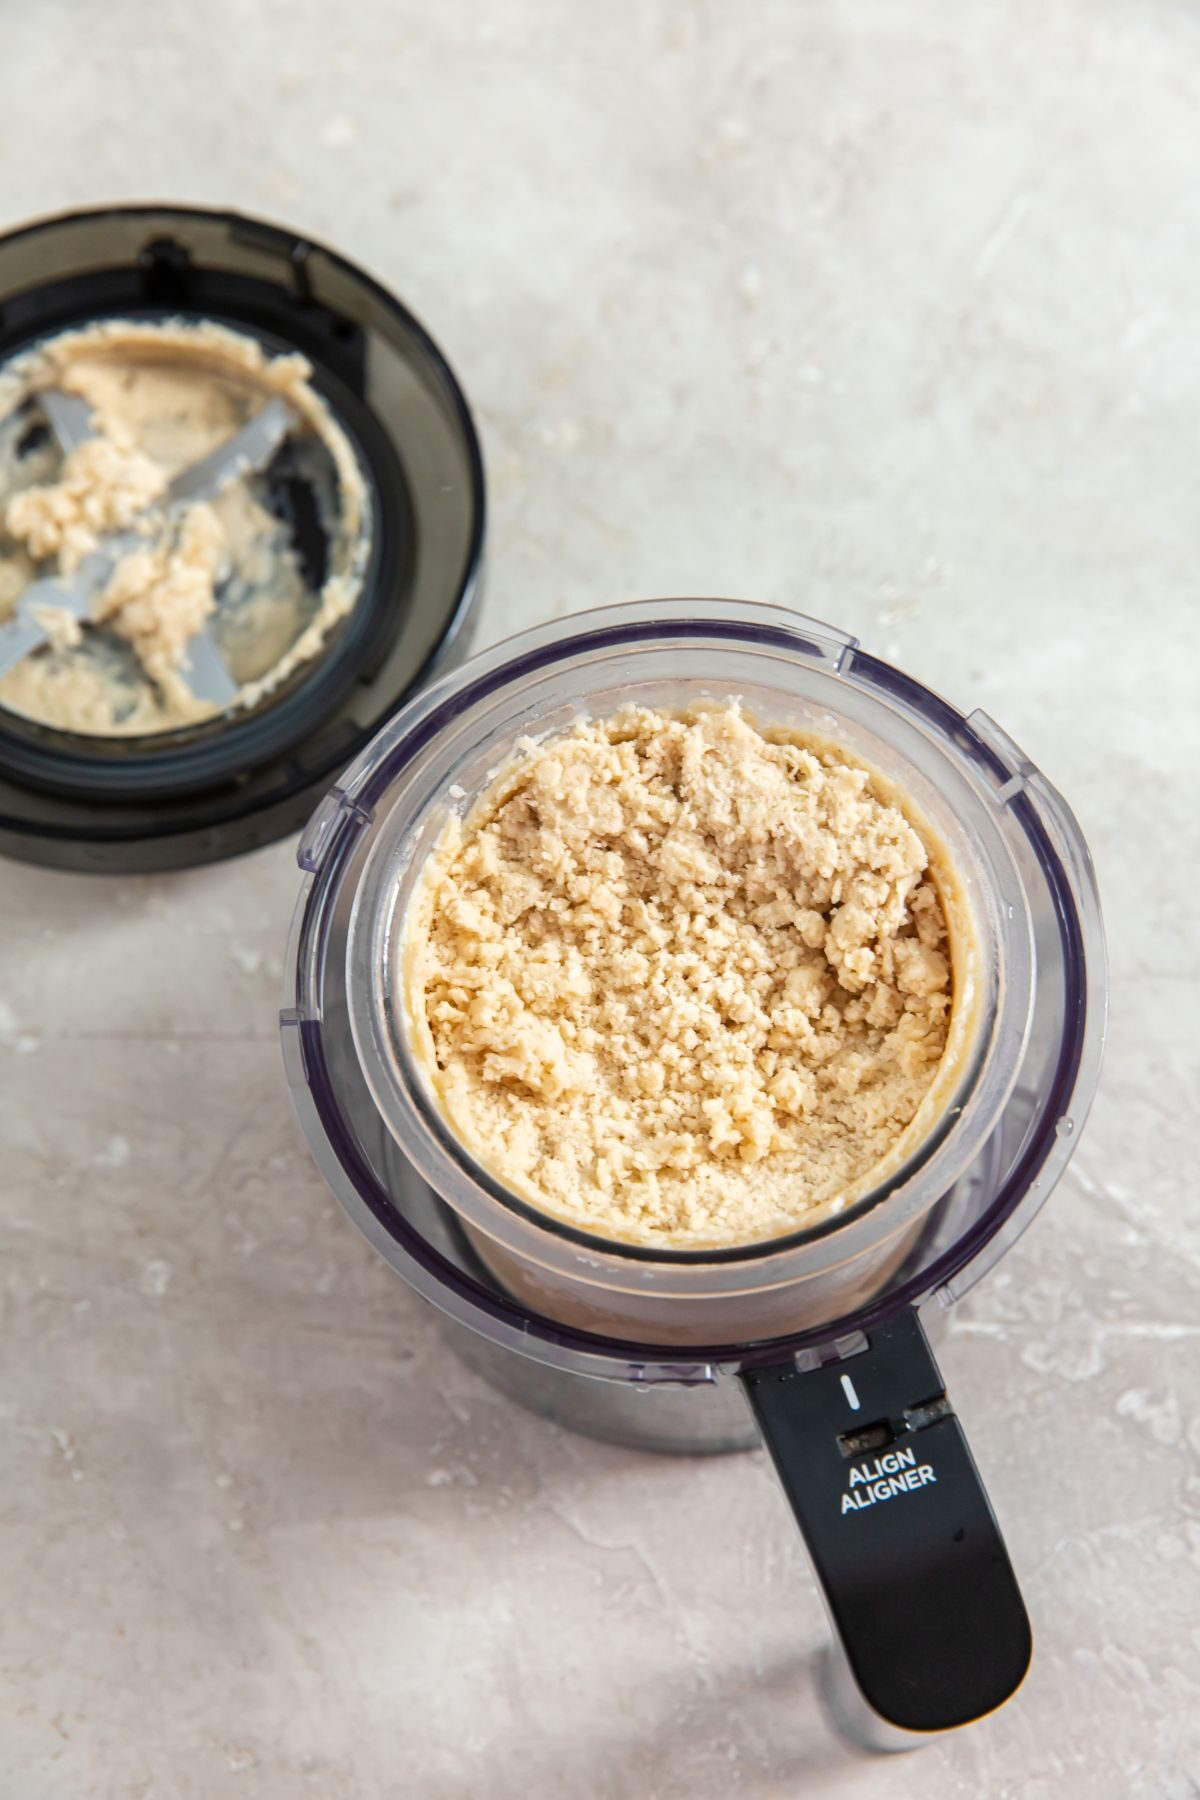
Notes: If after one round of spinning your ice cream is a little dusty in texture and not creamy, select the “spin again” setting. But with this recipe I doubt you'll have to do that.
Substitutions
If you want to make this recipe with heavy whipping cream or half and half instead of Fairlife 1% milk you can! You will just have higher fat content and higher calories. Good for those who need extra calories to gain weight or have high metabolic needs.
If you wanted to use Lactose Free whole milk instead of the Fairlife 1% milk you could try it, but just keep in mind that this would increase the calorie content. You might also need to use the "spin again" function.
How to store
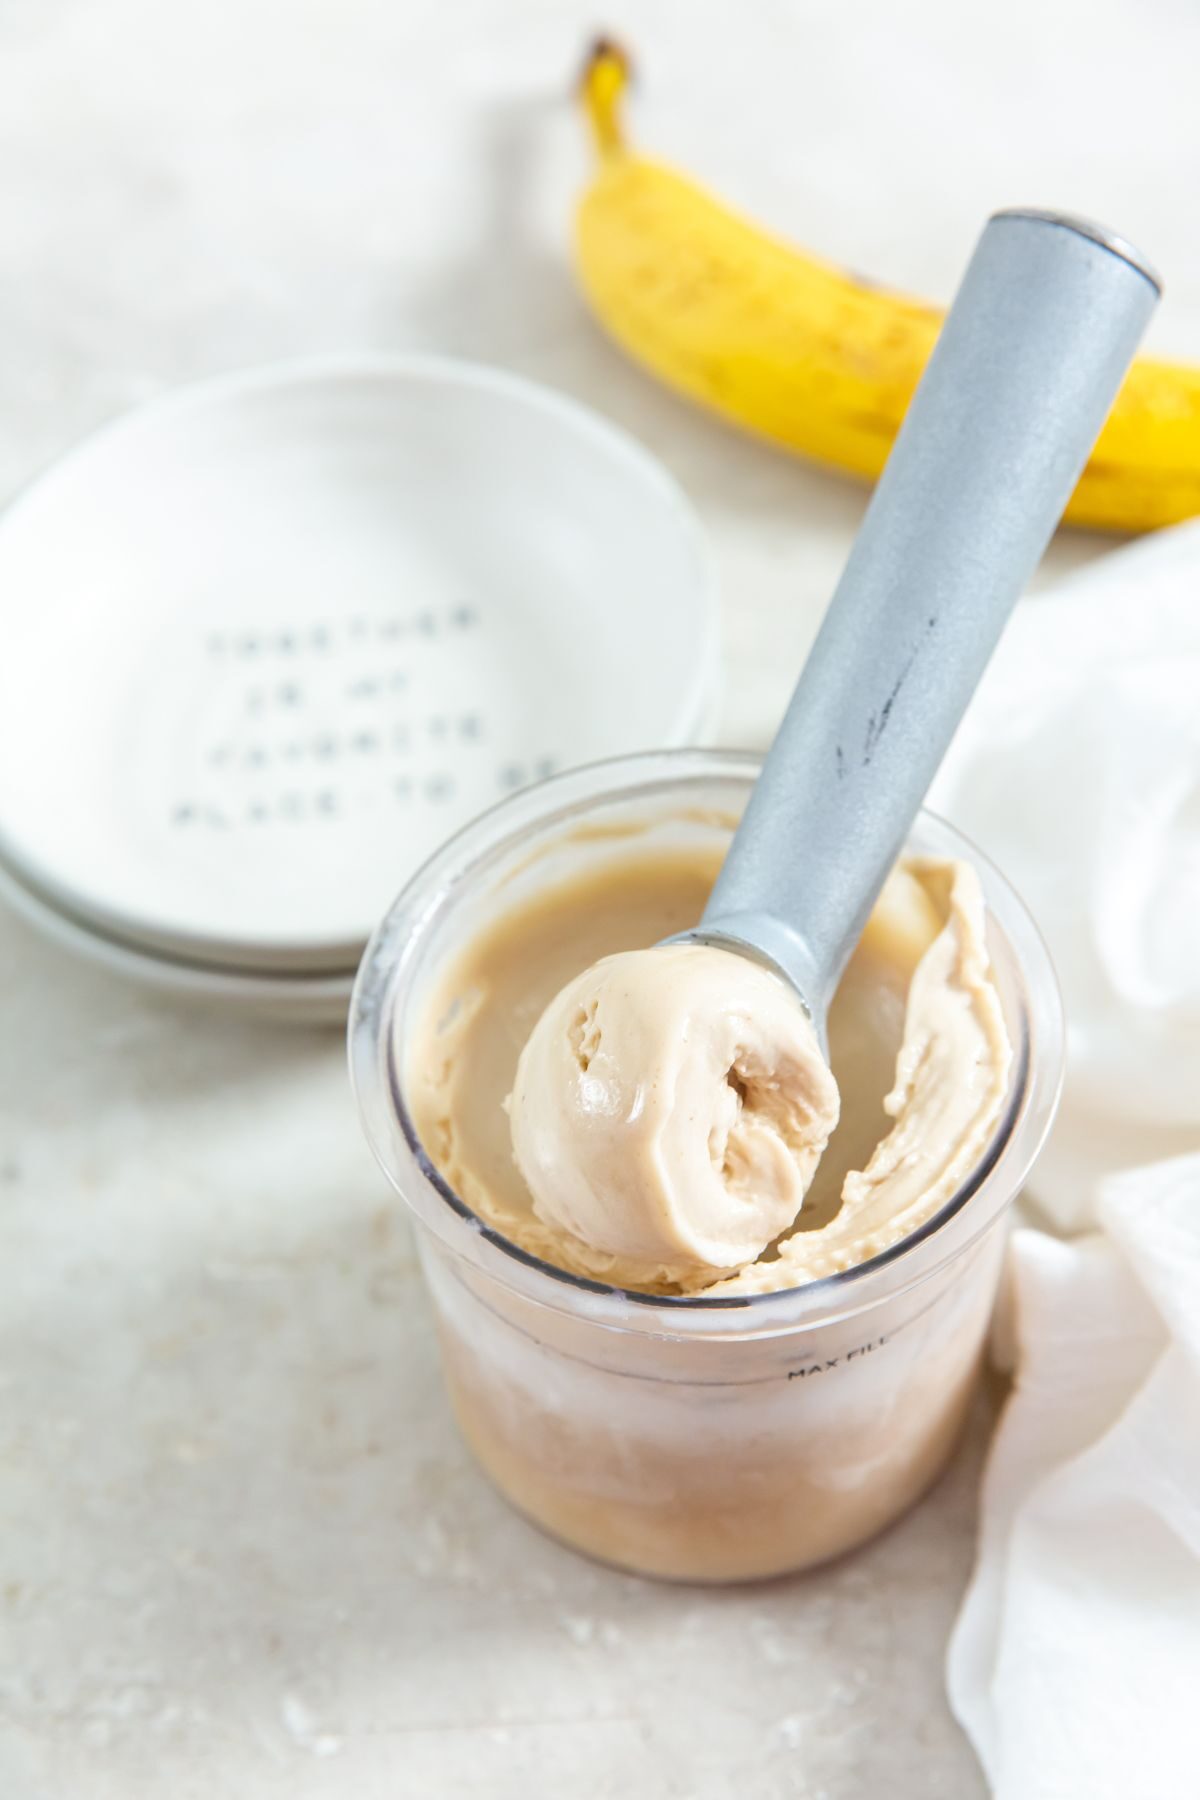
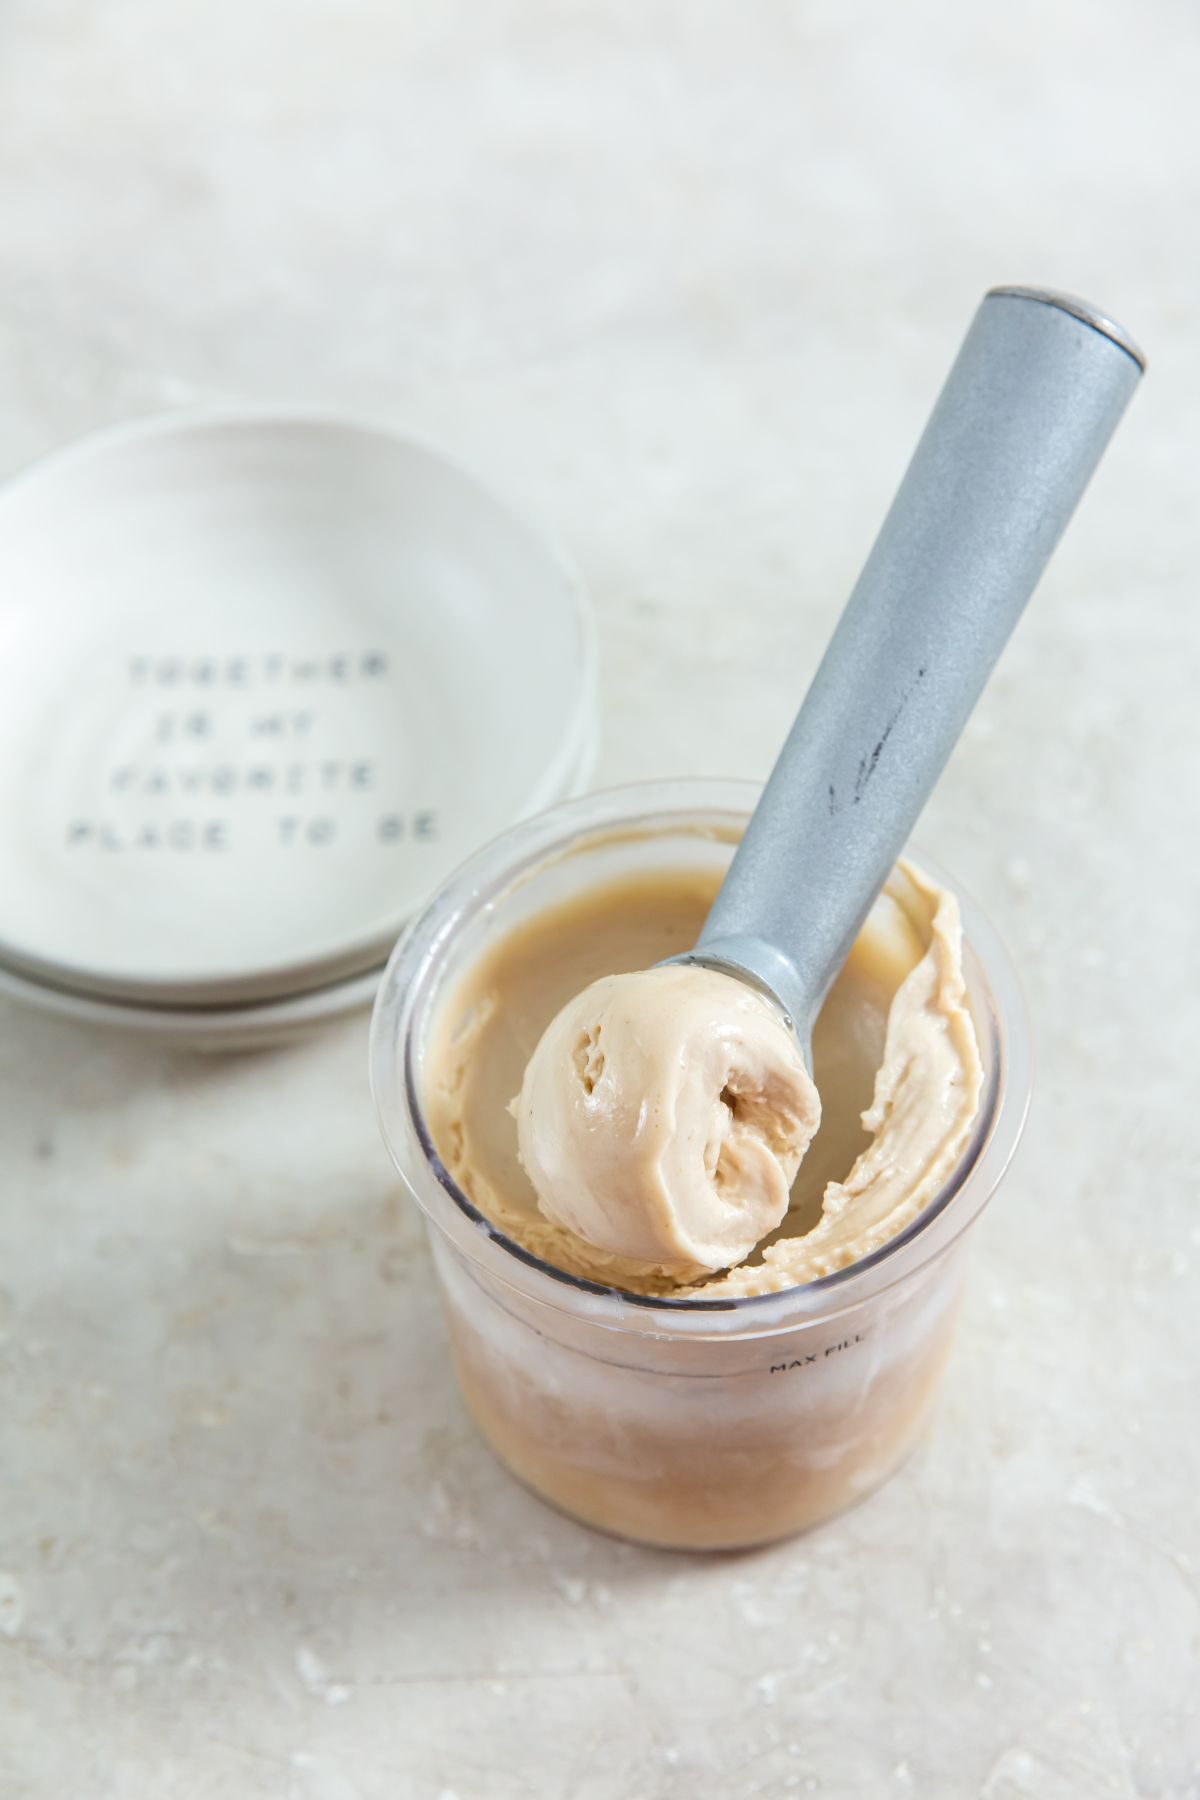
- Store this high protein banana ice cream in the freezer with the lid on and on a flat surface. It should last 3 to 6 months in the freezer as long as the lid is on tight. If you only eat a portion of it, make sure to smooth the top layer flat so you can spin it in the Ninja Creami when you're ready to eat.
- You will need to run the ice cream through the Ninja Creami again once it has been fully frozen.
More Ninja Creami Ice Cream Recipes
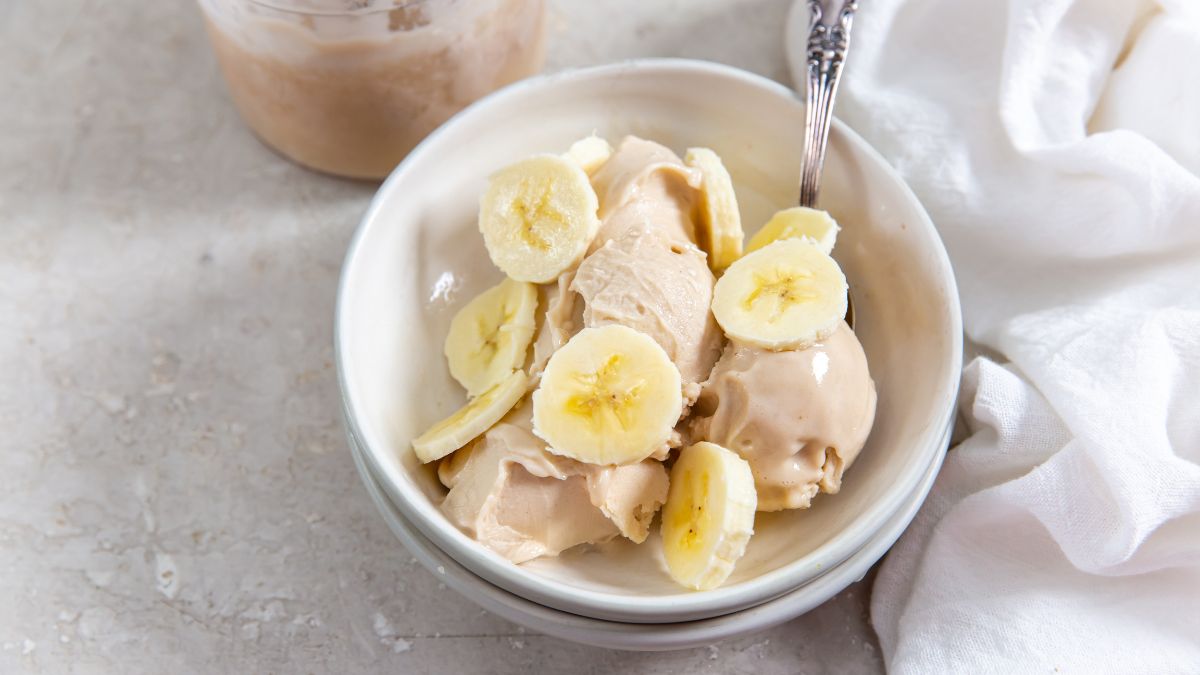
If you load this Ninja Creami Banana Ice Cream Recipe, check out these other Ninja Creami Ice Cream Recipes.
- Chocolate Dairy Free Keto Ice Cream
- Eggnog Ice Cream
- Chocolate Chocolate Chip Ice Cream
- 3 Ingredient Keto Strawberry Ice Cream
- Coffee Ice Cream
- Ninja Creami Peanut Butter Ice Cream
- Chocolate Protein Ice Cream
Protein Banana Ice Cream | Ninja Creami
Equipment
Ingredients
- 1.5 banana large
- 1 cup fairlife 1% milk
- ½ teaspoon vanilla extract
- 1 tablespoon Besti Monk Fruit Erythritol Blend
- 2 scoops Naked Nutrition Grass-fed Whey Protein
Instructions
- Add all of the ingredients into a blender. Blend until the ingredients are well combined.
- Transfer the liquid to the Creami ice cream pint and place the lid on tight. Freeze for 18-24 hours.
- Once the ice cream base is completely frozen, remove it from the freezer.
- Remove the lid and transfer the pint into the Ninja Creami pint holder.
- Place the blade into the lid and then place the lid onto the pint holder.
- Lock the ice cream into the creami and select either the ice cream or soft serve selections.
- If after one round of spinning your ice cream is a little dusty in texture and not creamy, select the “spin again” setting.
- Next, select the “mix-in” setting and let that run. After it’s finished remove the pint from the holder and enjoy.
Notes
Nutrition
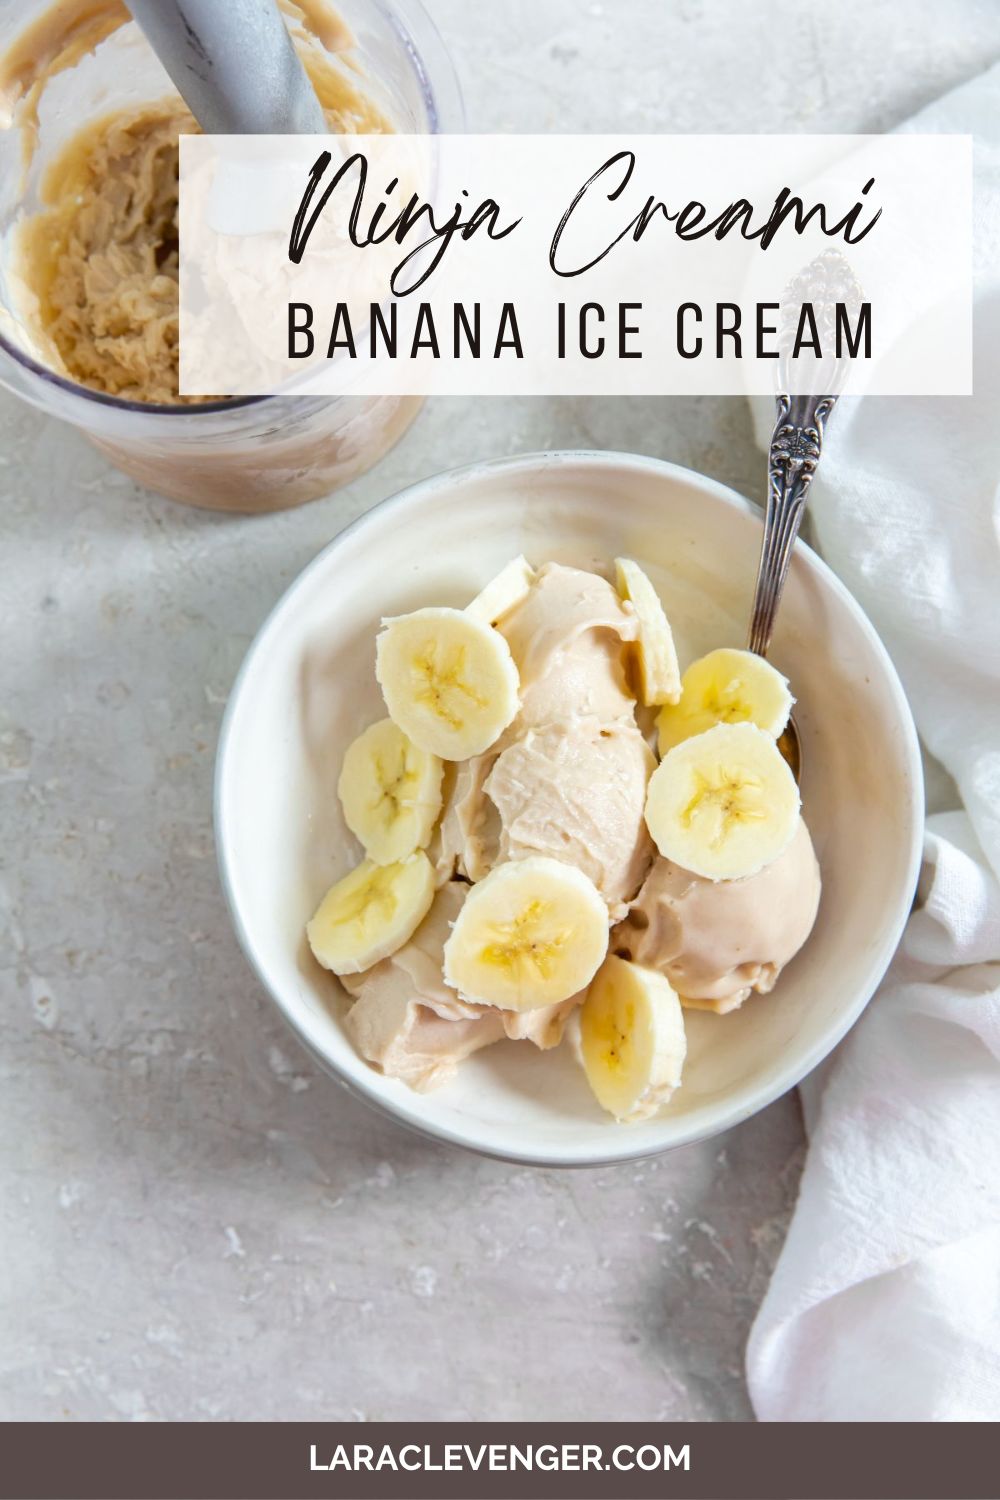
PIN THIS RECIPE FOR LATER


Niki
How do you know when to use the “ice cream” button Vs the “Lite Ice Cream”? I thought it had to do with the type of sugar used so wanted to check before I try!
Lara
I've played around with it for most of my recipes. If its a lower fat recipe (using milk over heavy cream or half and half) it does best with the "lite" function. If I were you do a lower fat recipe on the "ice cream" function it tends to need a respin. I've never used white sugar in a recipe so I can't vouch for either of those.